

How to Use, Clean, & Care for Canal Style Earplugs
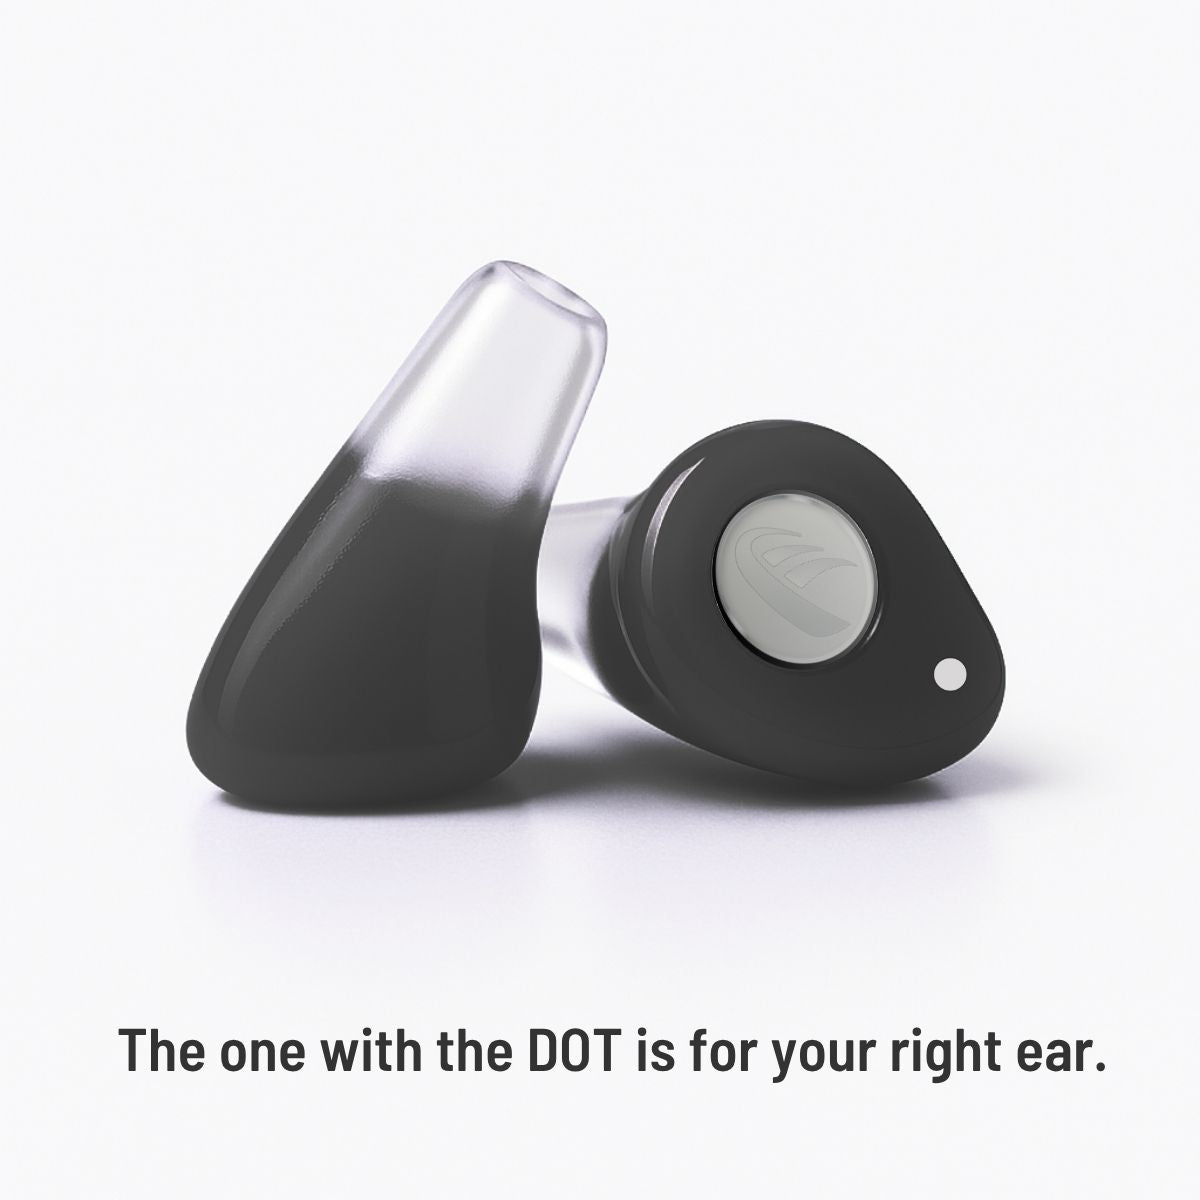
If your earplugs look like these, these instructions apply — including Concertos, Densonics, Engagers, and other discrete plugs.
Please Note: The dot on your right earplug may be in a different positions than shown in the illustrations and videos.
How They Fit
1) Prepare the plug
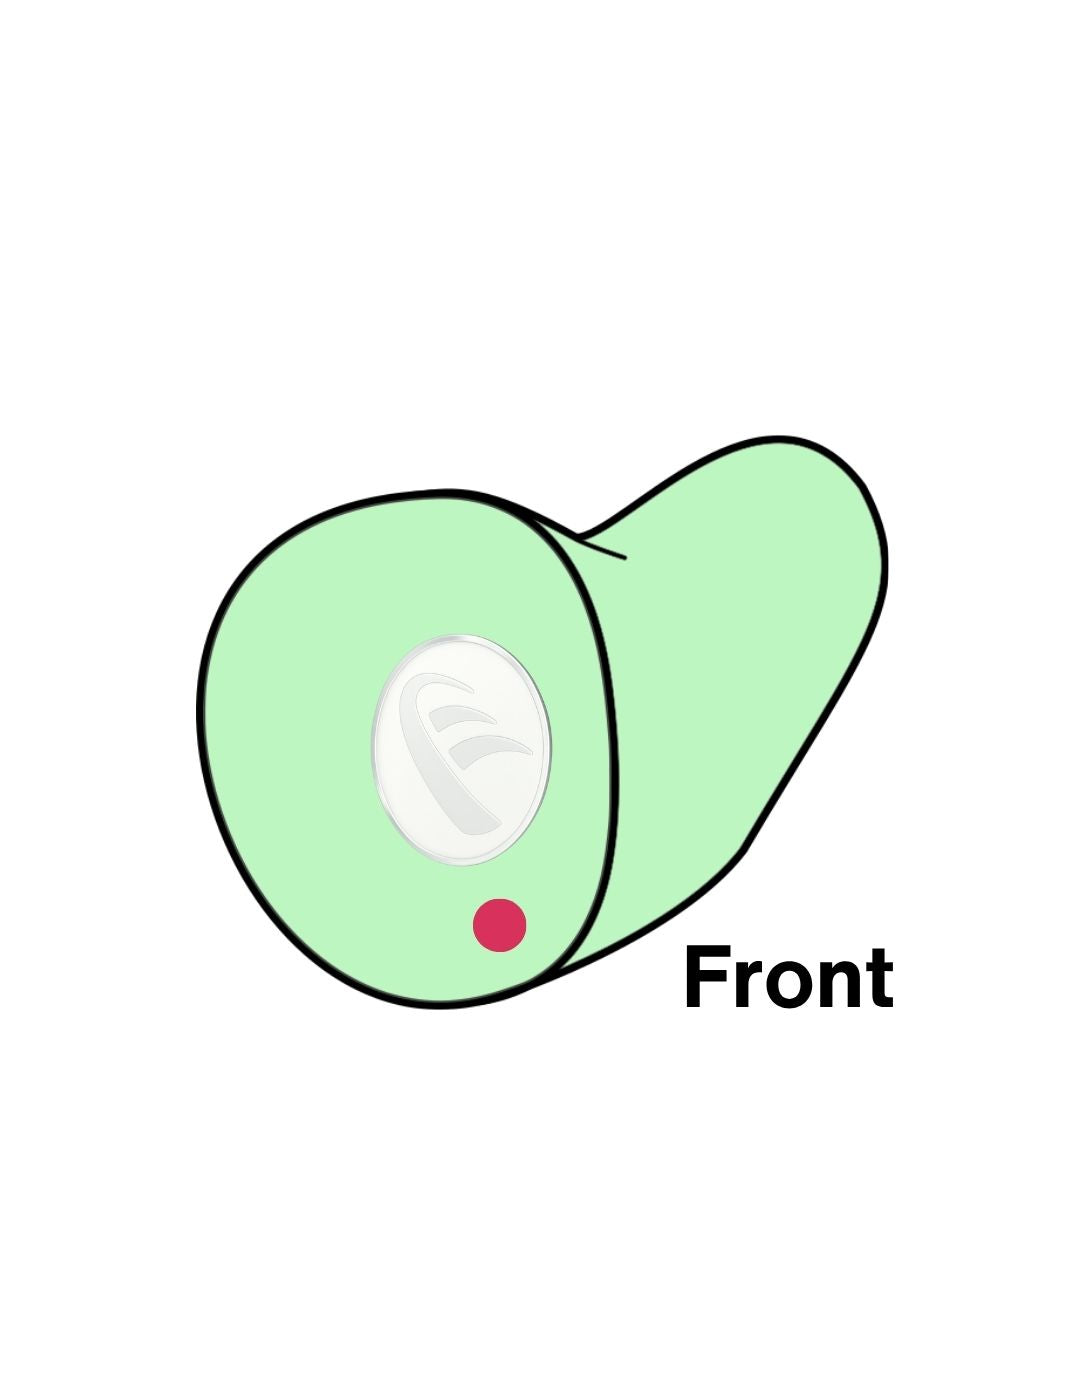
- Identify your Right earplug
(It’s the one with the dot).
NOTE: The dot may be in a different position on your earplugs than shown in this image. - Optionally, spread a thin film of lubricant around the canal portion of each earplug.
2) Insert canal first
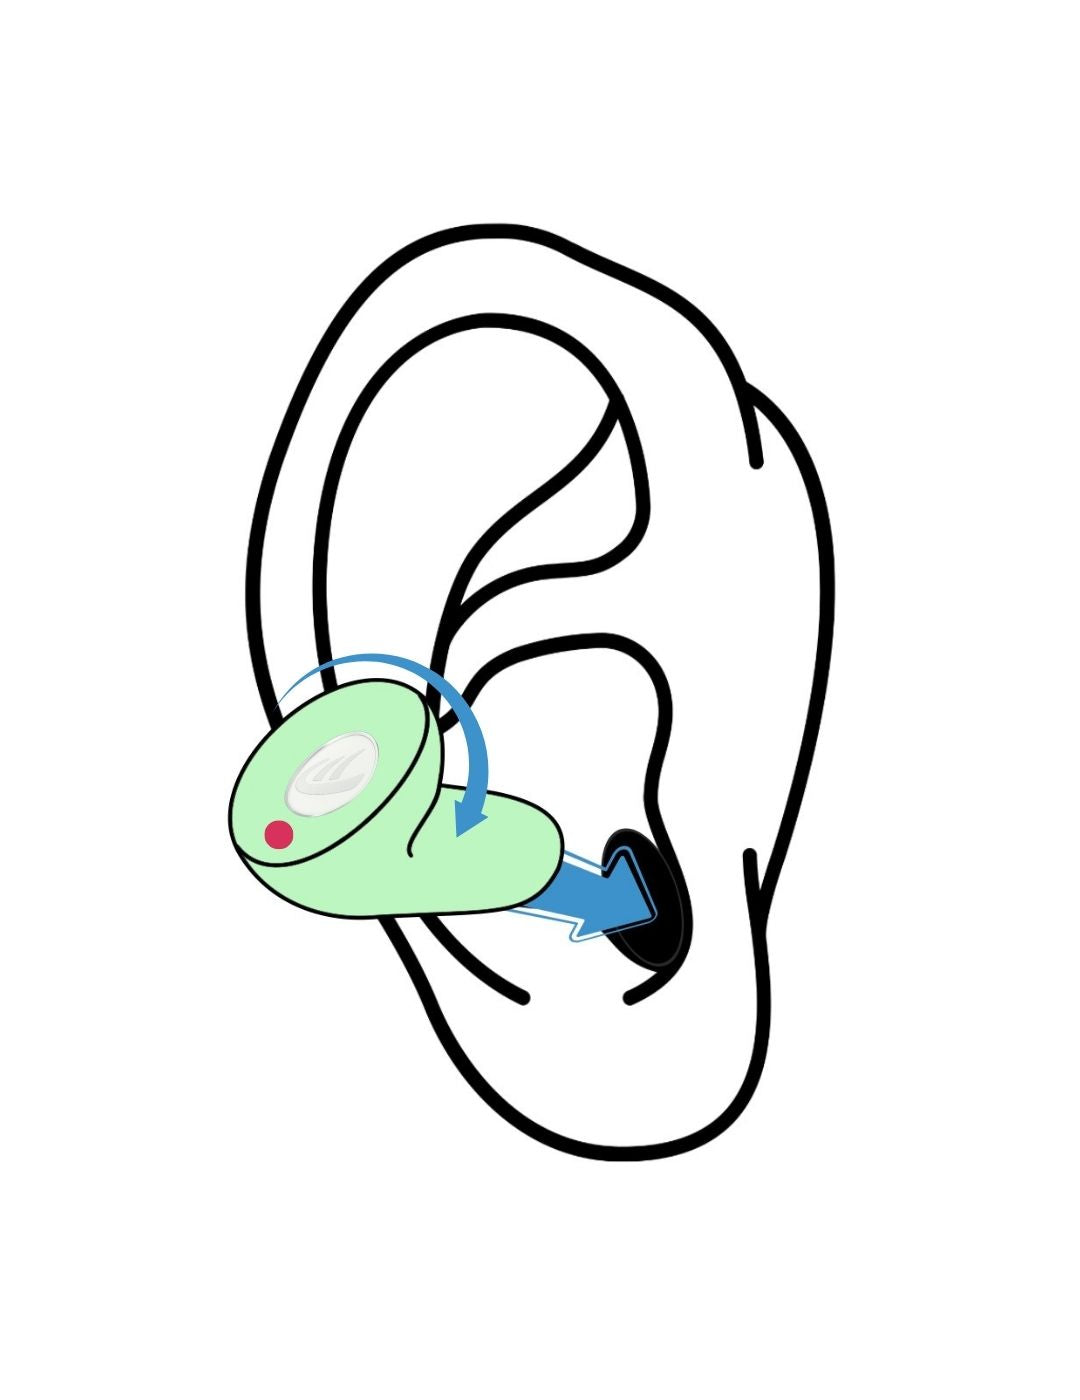
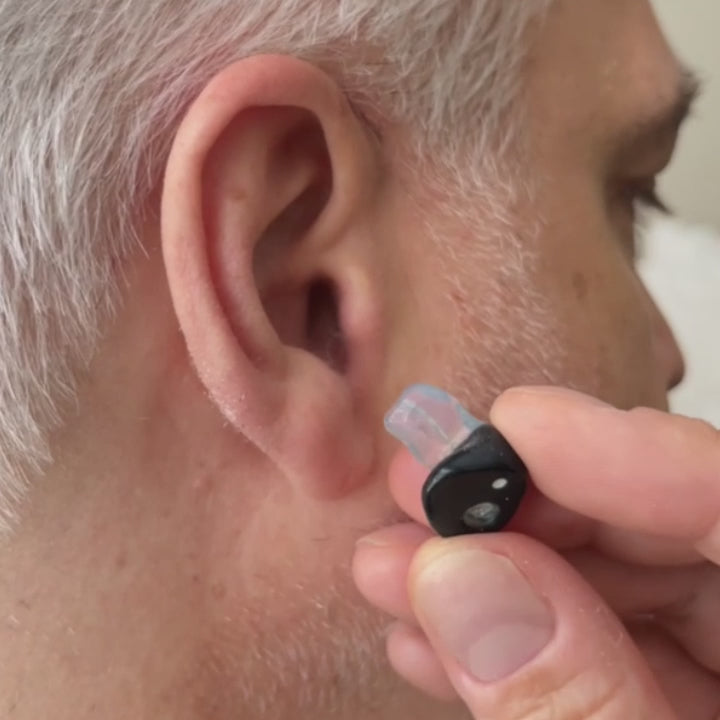
Align the earplug with your ear, slightly rotating the top forward. Focus on lining up the canal portion.
3) Final push
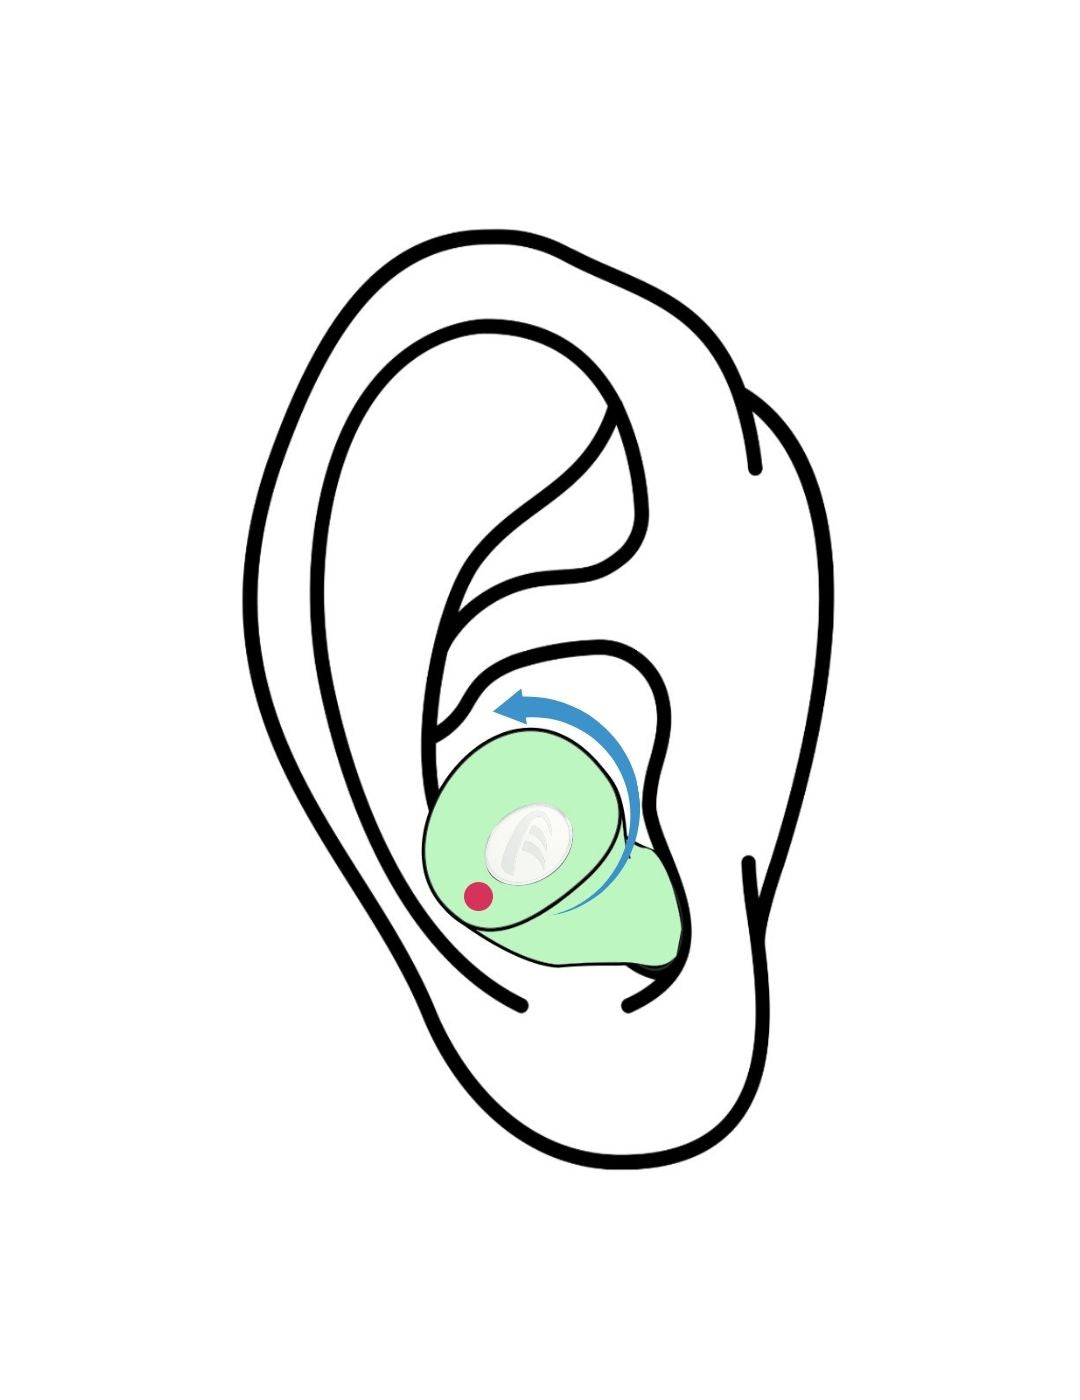
Roll the top of the earplug backward while pushing the canal portion inward.
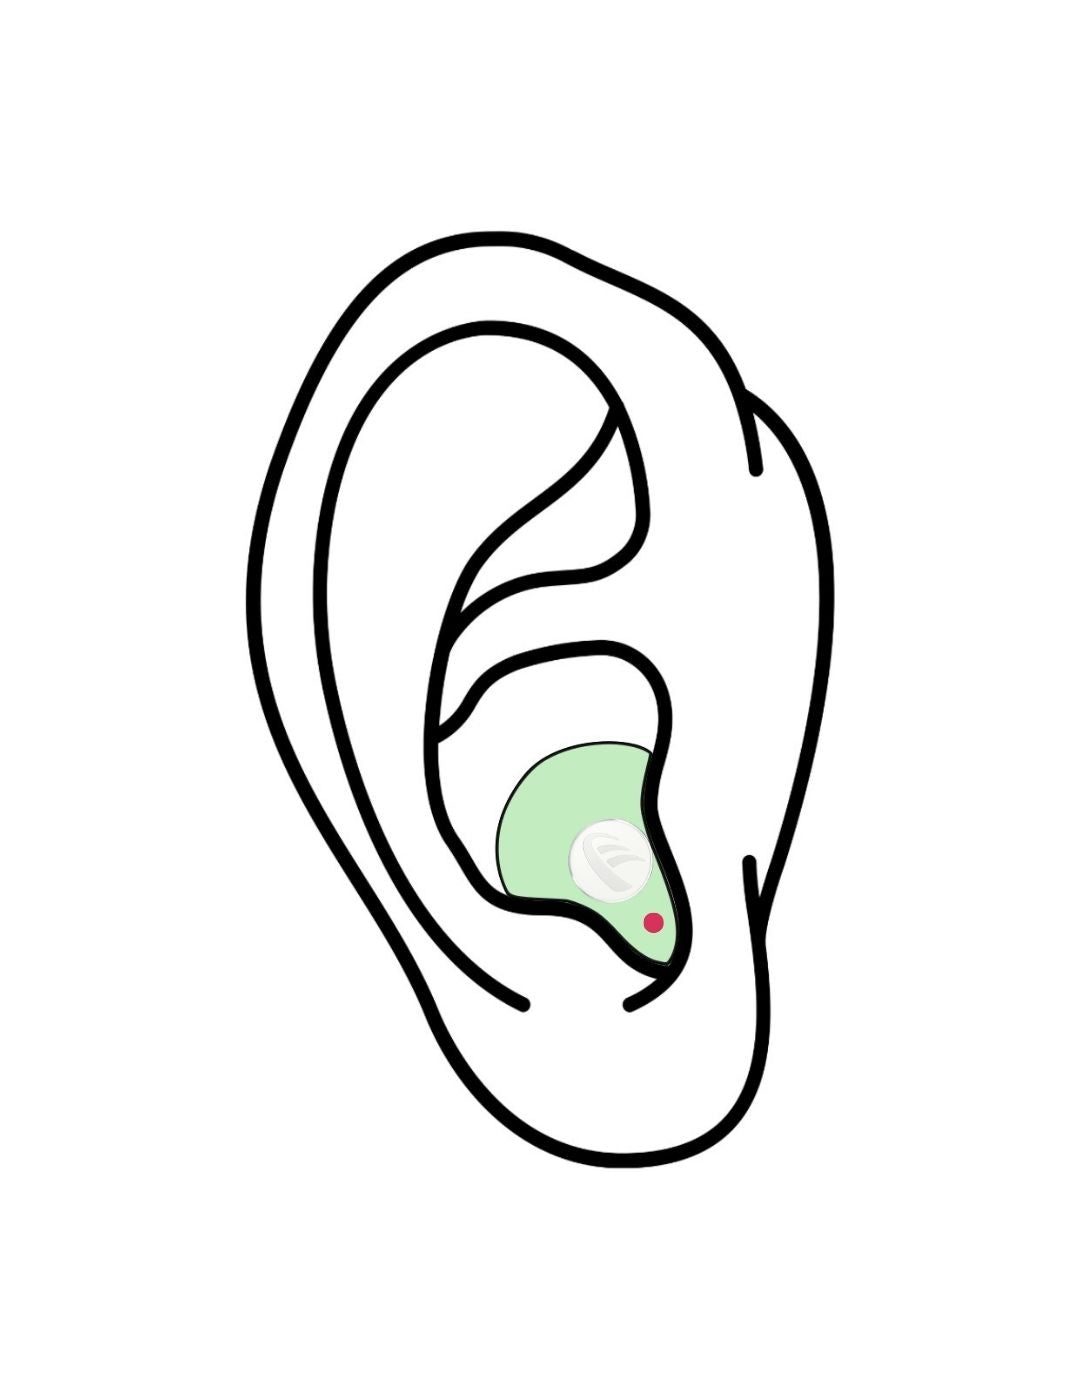
4) Lock it in
Push in until completely seated. Pull your ear lobe to the side & give a final push.
Refer to the video below if you're unsure how it should look.
How to Insert and Remove
Your ear canal naturally curves to the back of your head. Insert the canal portion first. You'll feel it seat and sound will cut out.
Make sure it's fully seated - all the way in. It only fits one way (like a puzzle piece).
To remove, just push it up from the bottom and it will find it's way out.
How to Wash Them
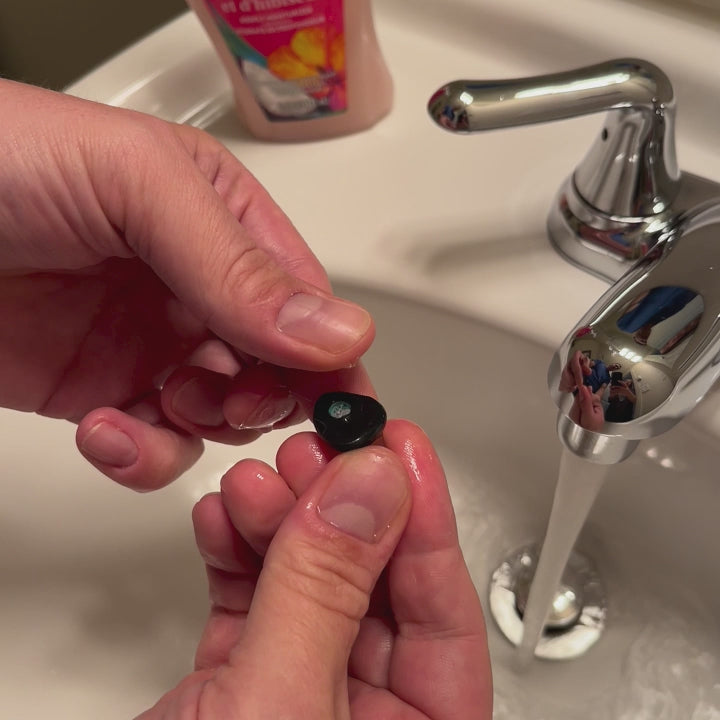
You can wash your earplugs however you like - just be careful to not to immerse the filter in water.
The best way to clean them is with a wet wipe if you've got one handy.
If you don't have one. Just grab some paper towel or a cloth, dampen it with warm/hot water, and give them a good wipe down. Then use that little tool (w/the wire loop) we included to gently pull wax out of the sound hole.
You CAN run them under water if you need to, but don't let that filter get soaked. It's ok if it gest a little wet. Just cover it with your thumb to keep it safe. Dry with a towel. Easy as that.
How to Remove and Replace Noise Filters
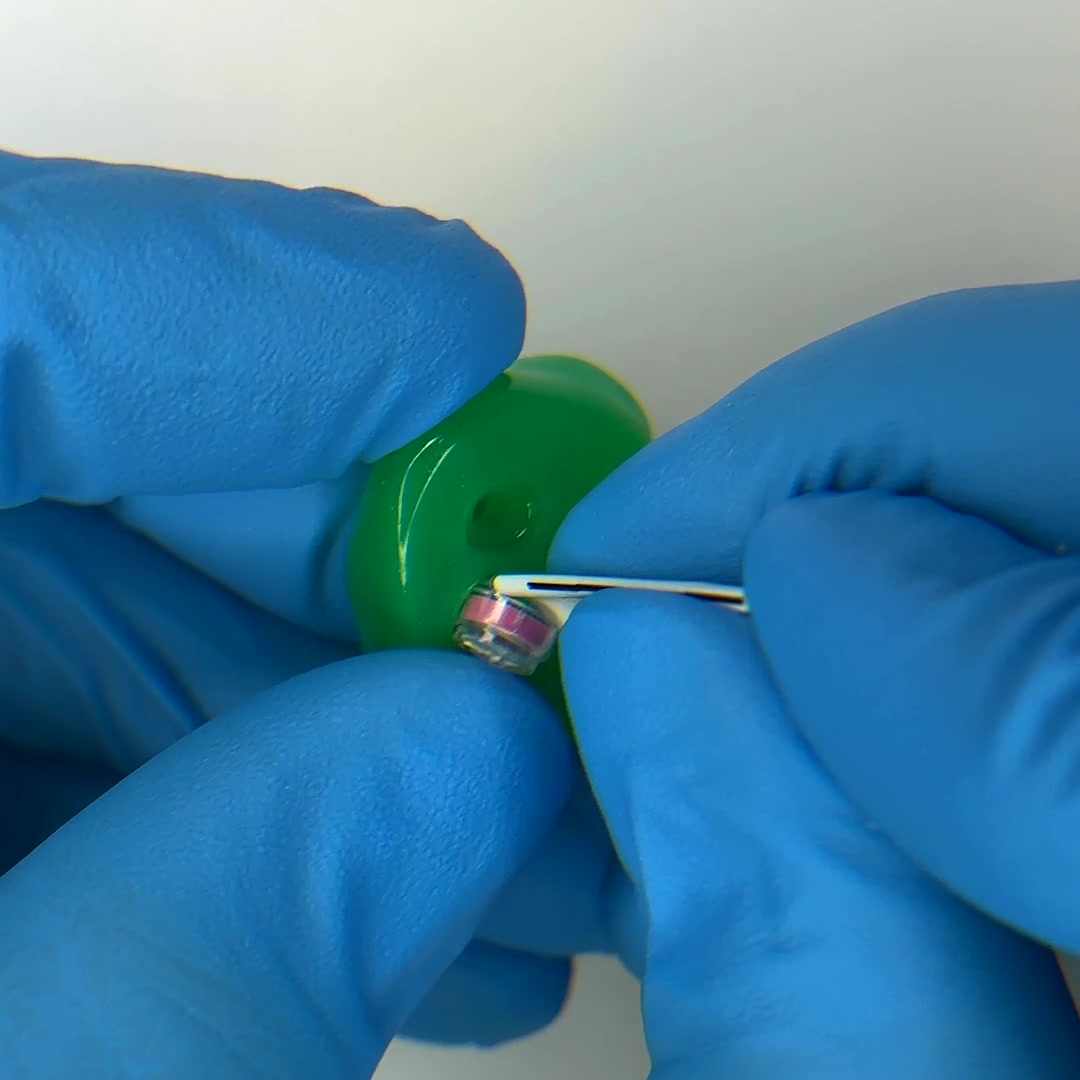
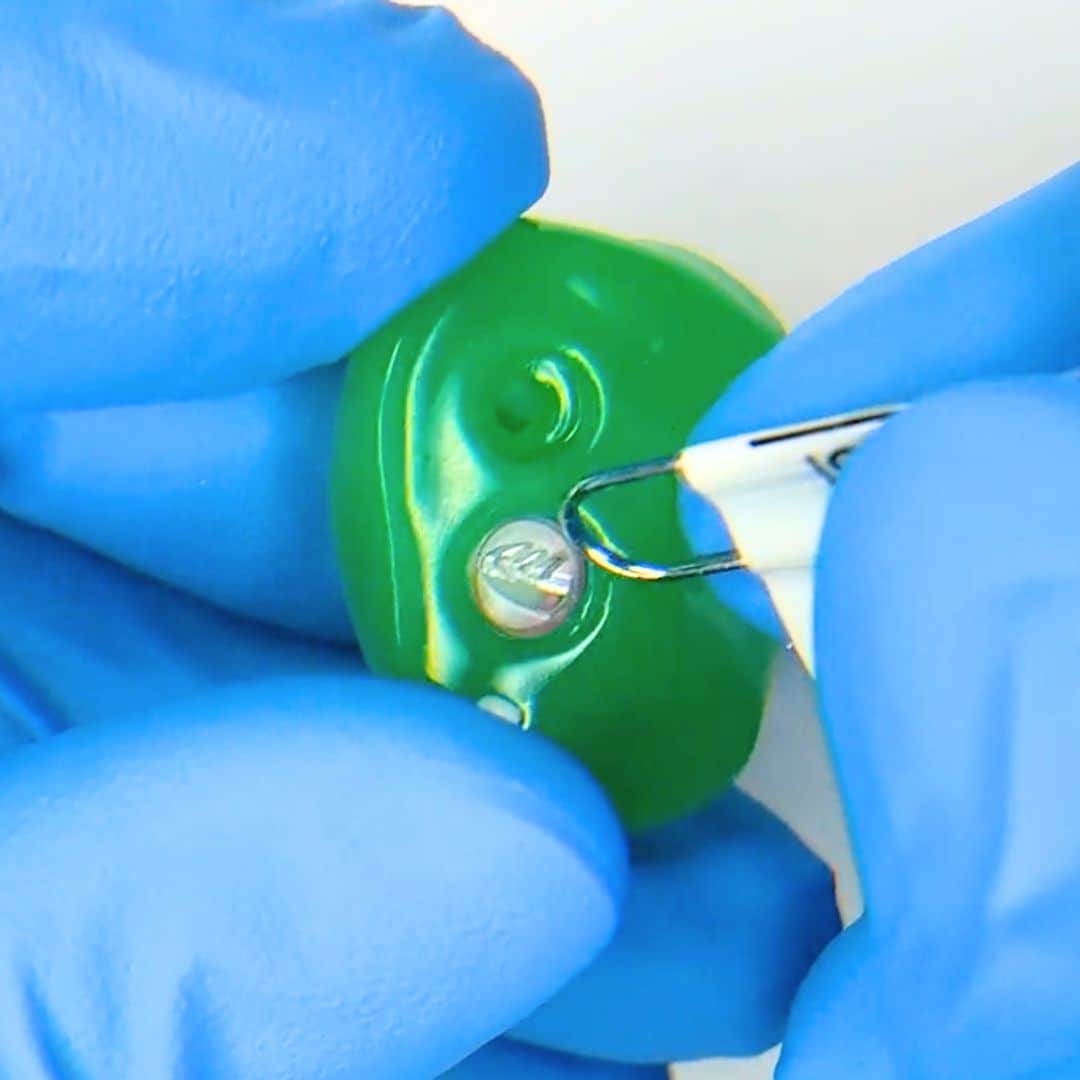
Use the included Filter Tool to remove and replace your filters.
Step 1 — Use the Filter Tool
Use the round end of the included Filter Tool. If you don’t have it, use the round end of a paperclip. Do not unfold the paperclip or use the pointed ends.
Step 2 — Remove the old filter
Gently slide the round end between the edge of the filter and the silicone. The silicone will flex slightly. Pop the filter out carefully.
Step 3 — Insert the new filter
Align the new filter upright. Angle one side in first, then press gently until it sits flat and flush.
Tip: The filter should sit flat when fully inserted.
Get Help
FAQ
Are there any extra tips for getting them in properly?
The best tip is to apply a very thin film of lubricant (like Vaseline or the one included) to the canal end of the plugs.
Don't overdo it — just a thin film is sufficient.
As you insert them, place the plug in position, then gently pull your earlobe to the side as you push it in.
It helps to wiggle and shimmy the plug back and forth slightly as you seat it.
They need to go all the way in — like a puzzle piece — to work properly.
How do I know which ear is which?
The plug with the dot is for your right ear.
They feel snug — is that normal?
Yes. They're designed to feel snug — that’s how they block sound effectively.
They shouldn't feel painful or overly tight, but you may need a few nights to get used to the sensation.
If there's any discomfort or pressure, let us know.
How do I clean my custom earplugs?
As shown in the video above — just use soap and warm water.
Rinse thoroughly and let them air dry or towel them off. Easy.
If you have the Pro version with filters, you can cover the filters with your thumb while rinsing the earplugs or remove the filters before washing them.
It's ok if the filters get a little wet - just don't immerse them in water.
How often should I clean them?
Clean them whenever they build up wax.
If they look clean and feel fine, you don’t need to clean them every day.
The natural oils from your skin actually help them go in more easily over time.
Can I trim or reshape them?
No.
Cutting or trimming them voids the warranty, and we won’t be able to repair or replace them if they’ve been altered.
What if I drop them or they get lint or dust on them?
Just rinse them off with warm water and wipe clean.
They’re durable and easy to maintain.